Simple Pickled Garlic
Garlic is a great self sufficiency crop. It preserves well and excess can be used to replant the following season. For that reason there aren’t a lot of resources available explaining how you might preserve your garlic for a bit longer. But there are a couple good reasons that you might want or need to stretch the life of your precious bulbs.
#1 Becoming completely garlic self-sufficient
In our region (Tucson, AZ) the climate is exceptionally dry. This means that I can usually store bulbs indoors after harvesting in May until November when I sew a new crop. If I grow a ton of garlic, we have plenty left over after sewing, but it is unlikely that the leftover garlic will keep until the next harvest. But pickled garlic will last a year or more in the refrigerator. This also allows for a bumper year resulting in lots of pickled garlic to be used to hedge against a poor harvest the subsequent year, reserving my precious bulbs for planting in the fall.
#2 Past Prime Produce
If you have access to cheap past prime produce in your area you are likely to get a ton of garlic in the fall when it is no longer sellable in the grocery store. In this case you don’t have much time, and even if you love garlic like we do, you’ll need to preserve some or all of the good bulbs before they go bad.
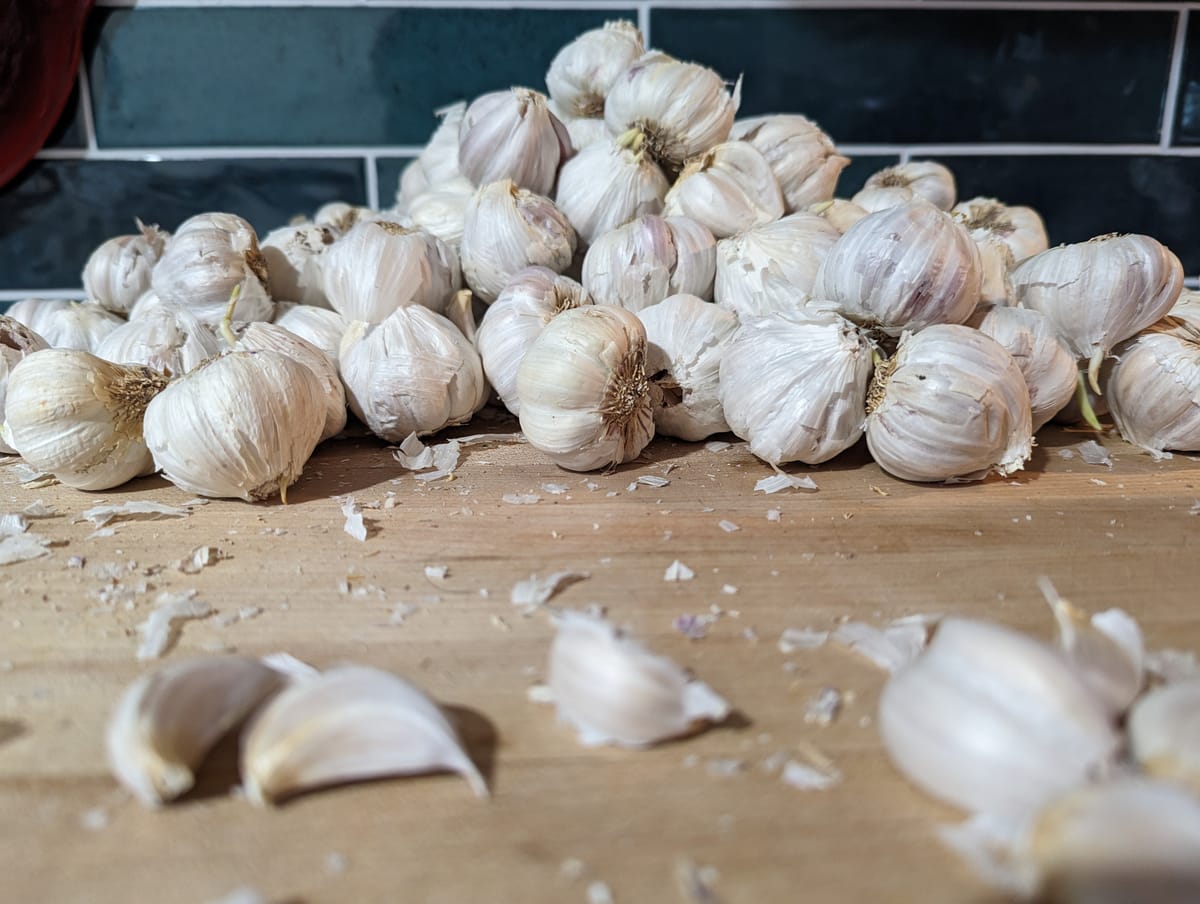
I do grow a bit of my own garlic, but most of it we use fresh and I barely have enough to plant out for my next crop. So last week I made it to the produce pickup and brought home about 5 pounds of garlic. So let’s get pickling!
This pickled garlic recipe is simple, but a lot of work up front. But when you’re done you’ll have access to whole garlic cloves until the next harvest or in my case the next produce pickup!
Ingredients
- Garlic (Whole)
- Distilled White Vinegar (5% Acidity)
- Black Peppercorn (1 TSP per quart jar)
Equipment: A couple bowls, a knife, and mason jars
Instructions
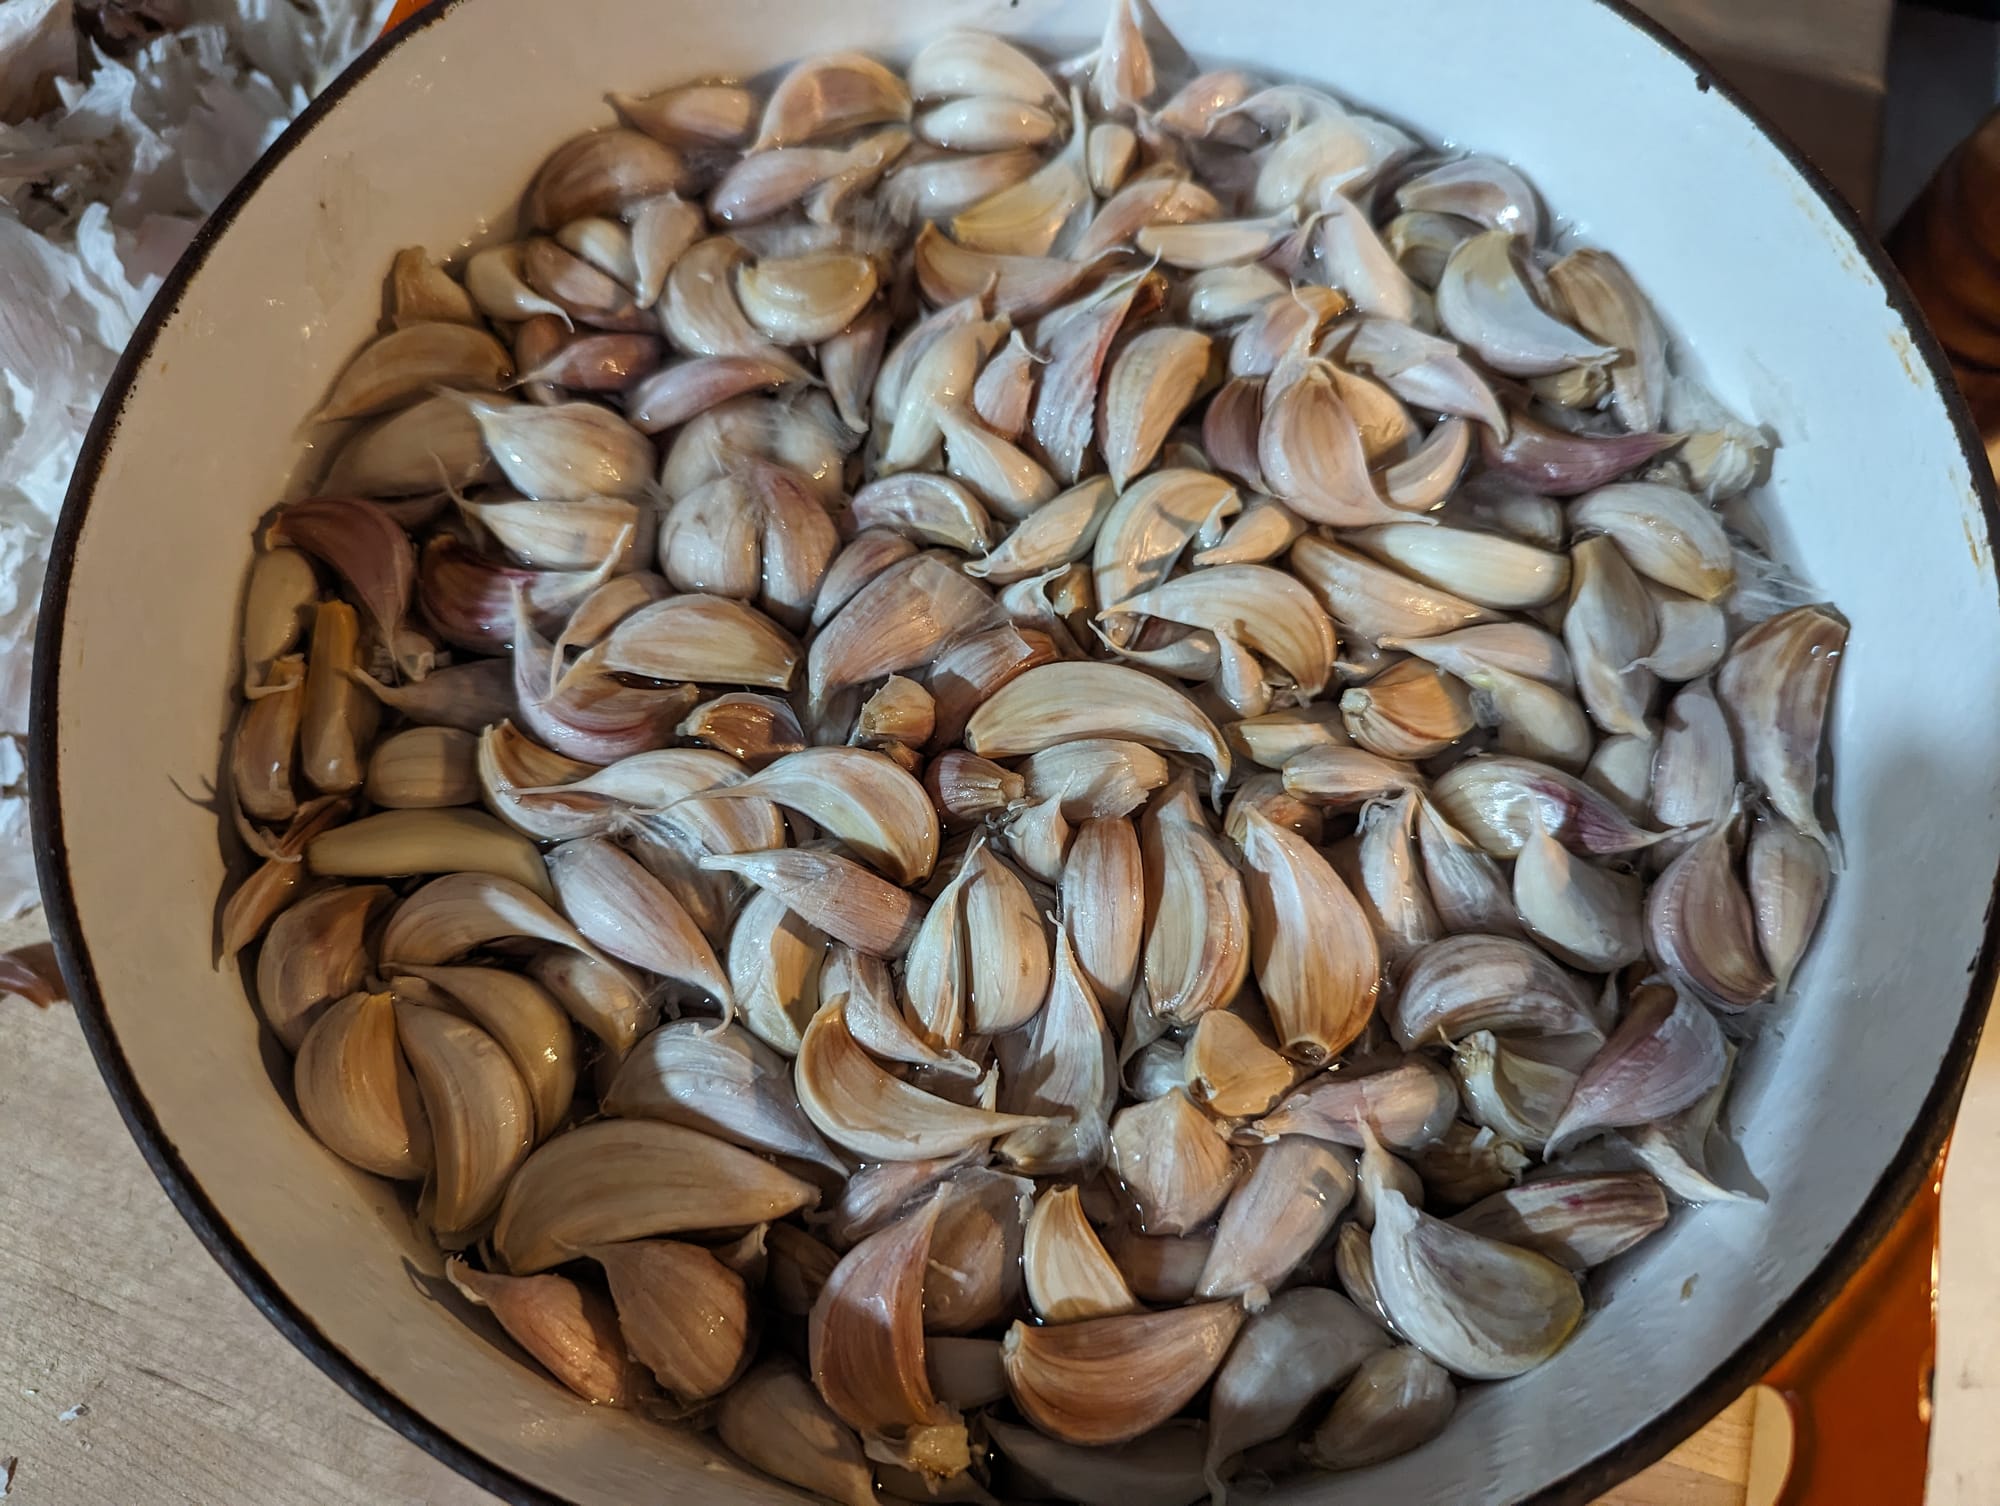
First you’ll need to peel and wash the garlic cloves. This is a challenge since the cloves retain the best flavor when they are whole, not smashed or sliced. I found that the best method is to break apart the cloves and toss them in warm water for about 10 minutes. Then using a sharp knife cutting the ends of each clove and peeling the skin off. Trust me, you'll develop your own method of accomplishing this after the first 100 or so cloves.
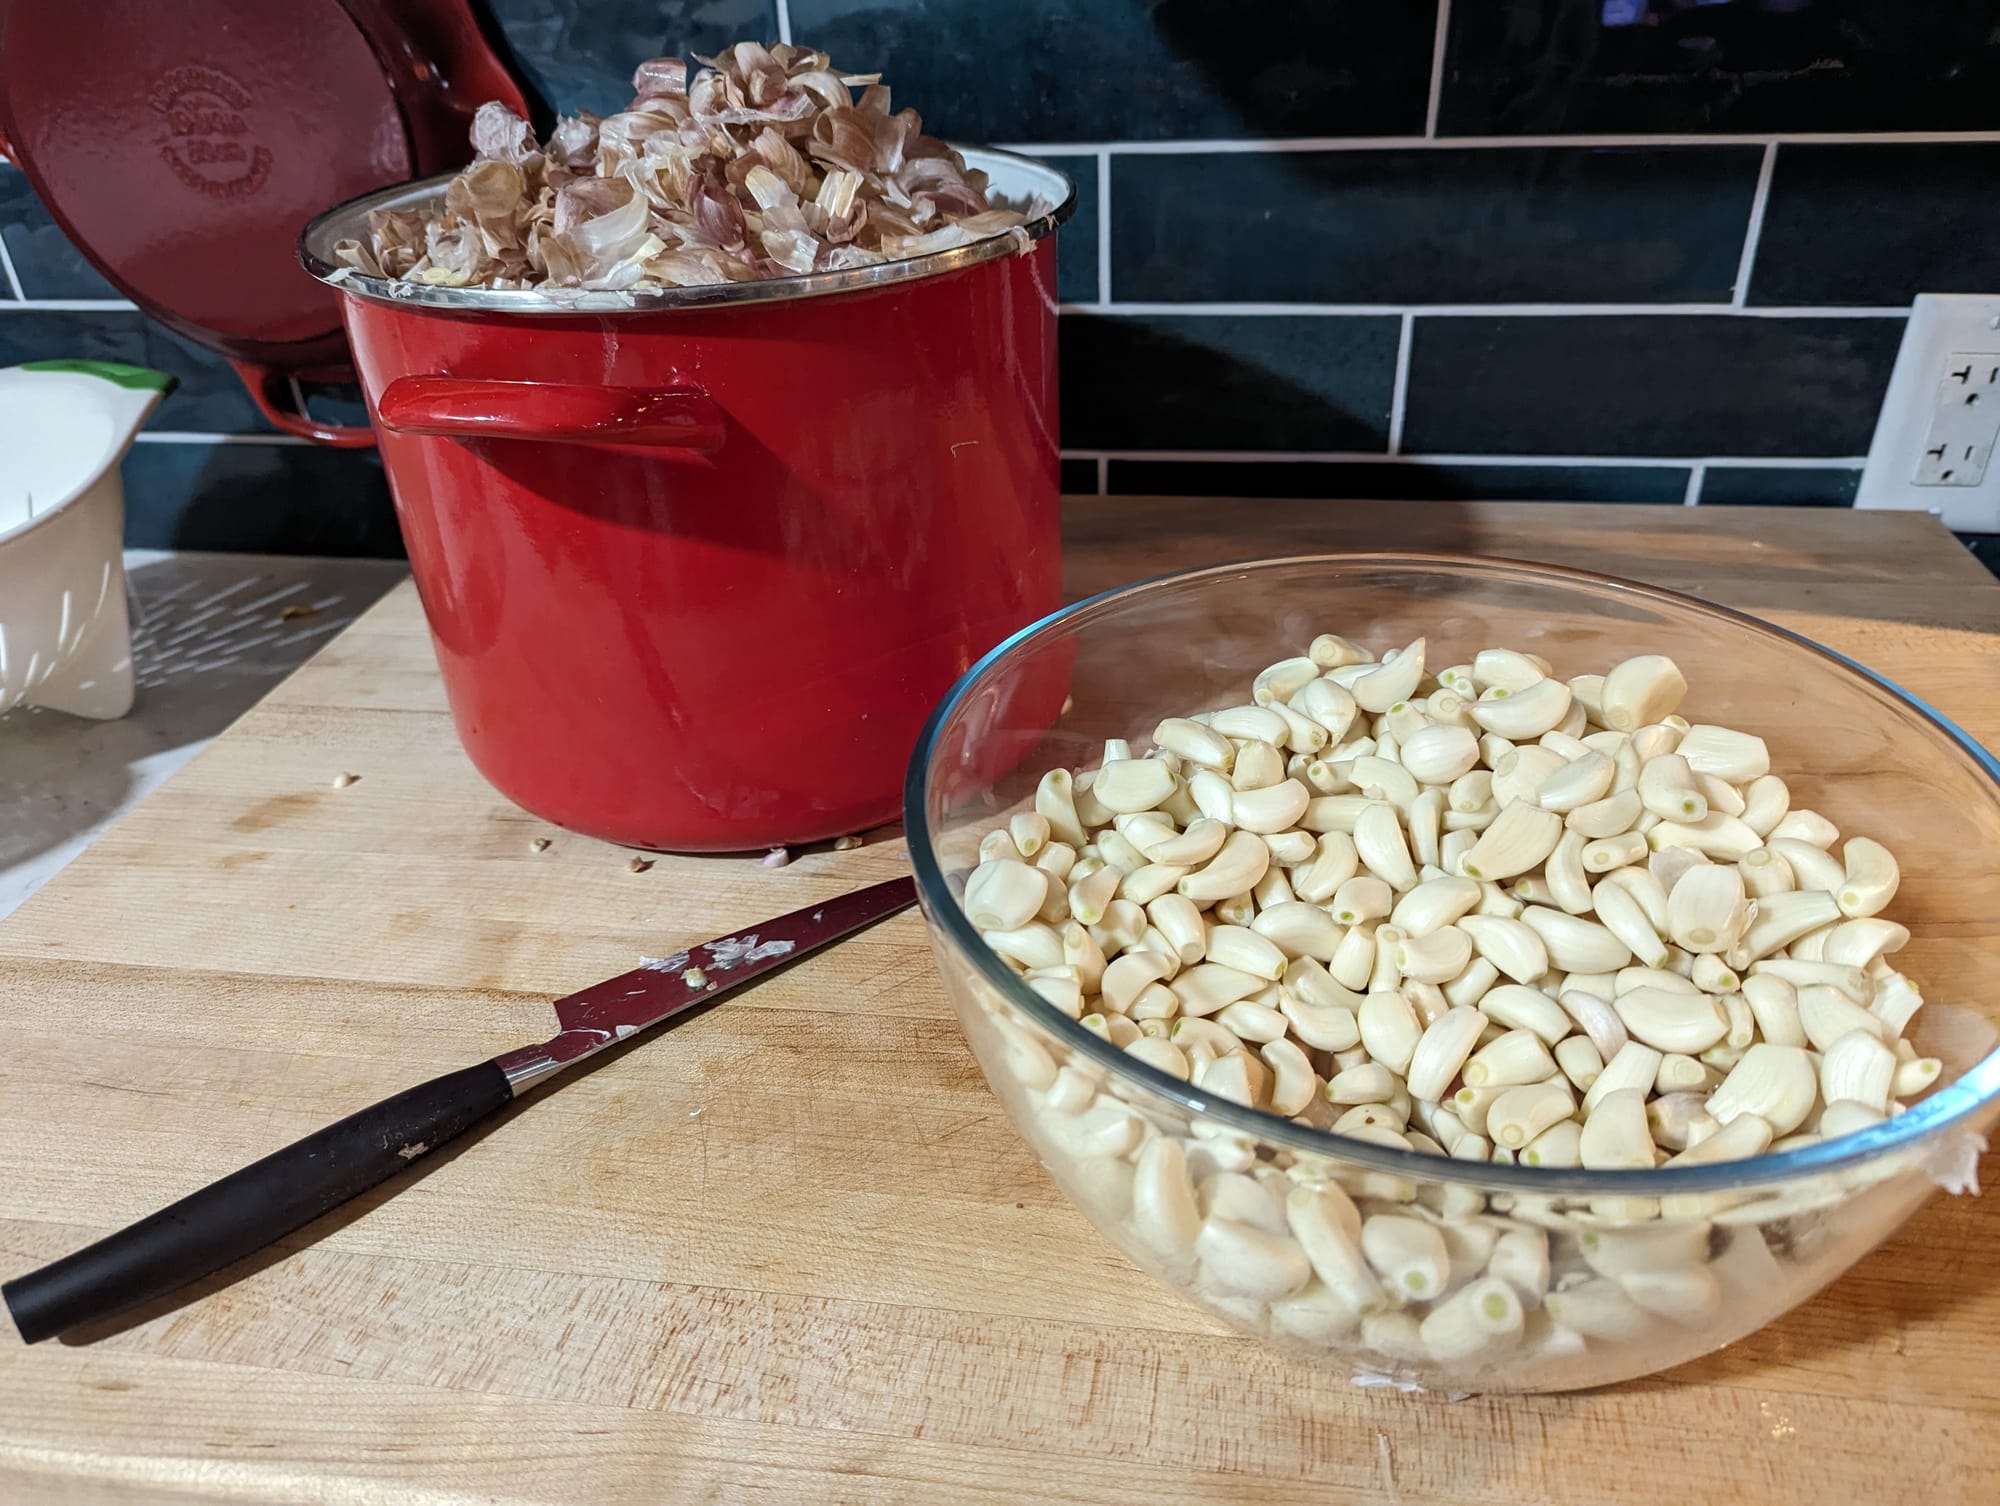
Once peeled and washed, pack the cloves into clean mason jars. I used 2 quarts and 1 pint jar. Since they are going to be filled with vinegar and stored in the refrigerator, it is sufficient to use hot water and dish soap to clean the jars. You can use an acid sanitizer if you have any concerns with this approach. Pack each jar with garlic cloves leaving about an inch of space at the top. Add the peppercorns and fill with vinegar until cloves are submerged. You may notice your cloves floating, but don’t worry they will sink later.
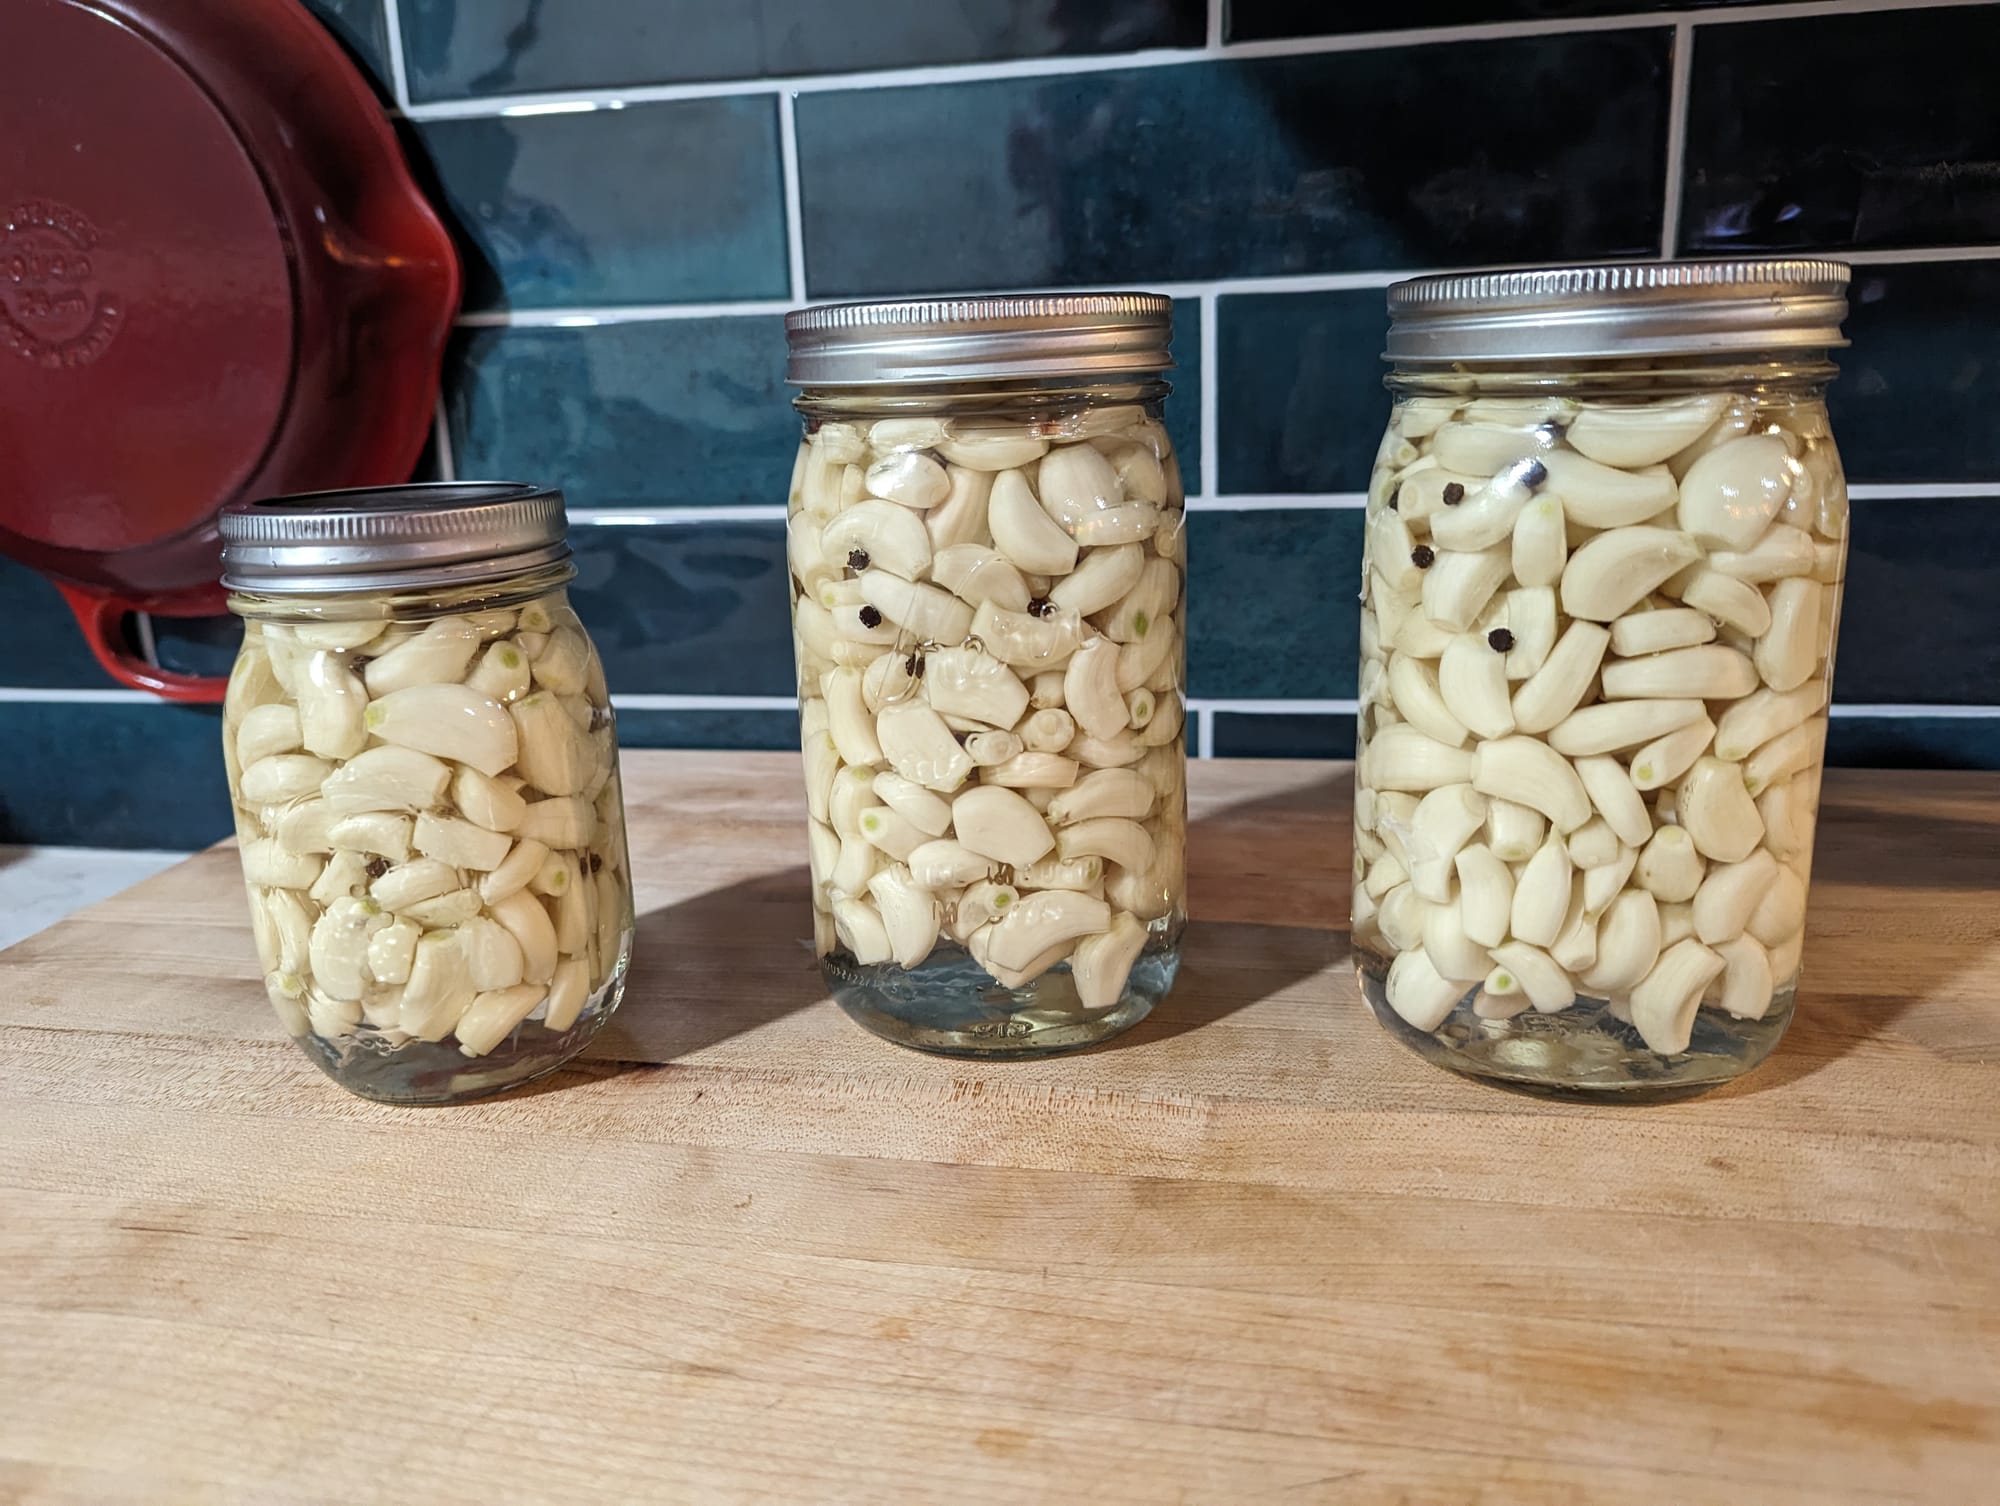
And that is it! Put your sealed jars in the refrigerator and use a clean utensil to grab yourself a clove whenever you need. You can rinse them off to remove the vinegar flavor but it is hardly noticeable once cooked. There are many variations you can explore, adding honey, peppers, and other flavors.
Garlic has many benefits for digestive, heart, and immune health and once you have easy access to ready peeled whole garlic cloves I’m sure you’ll find many ways to incorporate them into your diet. For instance, pickled garlic is great for making salad dressings and marinades.
I hope you found this recipe helpful. Have you tried pickling garlic before, or have any questions about the process? I’d love to hear from you. Feel free to share your experience in the comments below.